Creating Dramatic Portraits on Location
I recently had the pleasure of photographing my wonderful friend’s engagement photos. Their wedding will be next month, but these are the photos were we have all the time in the world to create some beautiful, posed portraits.
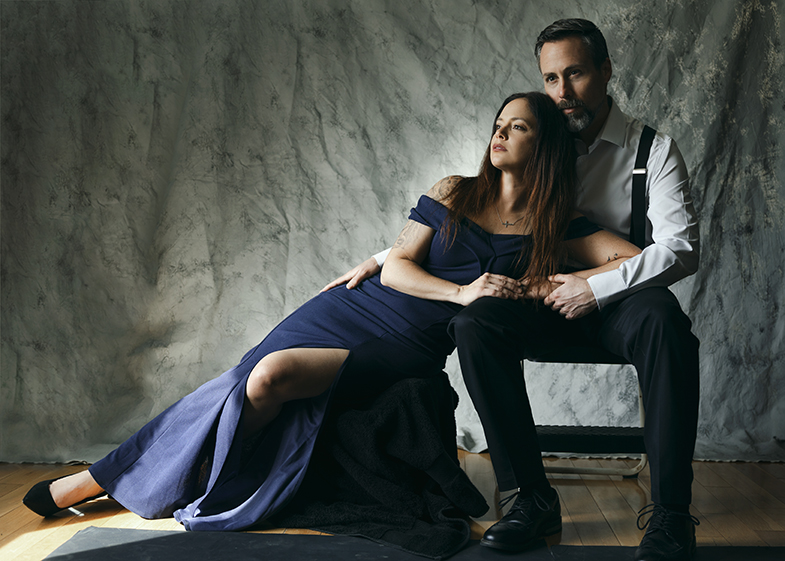
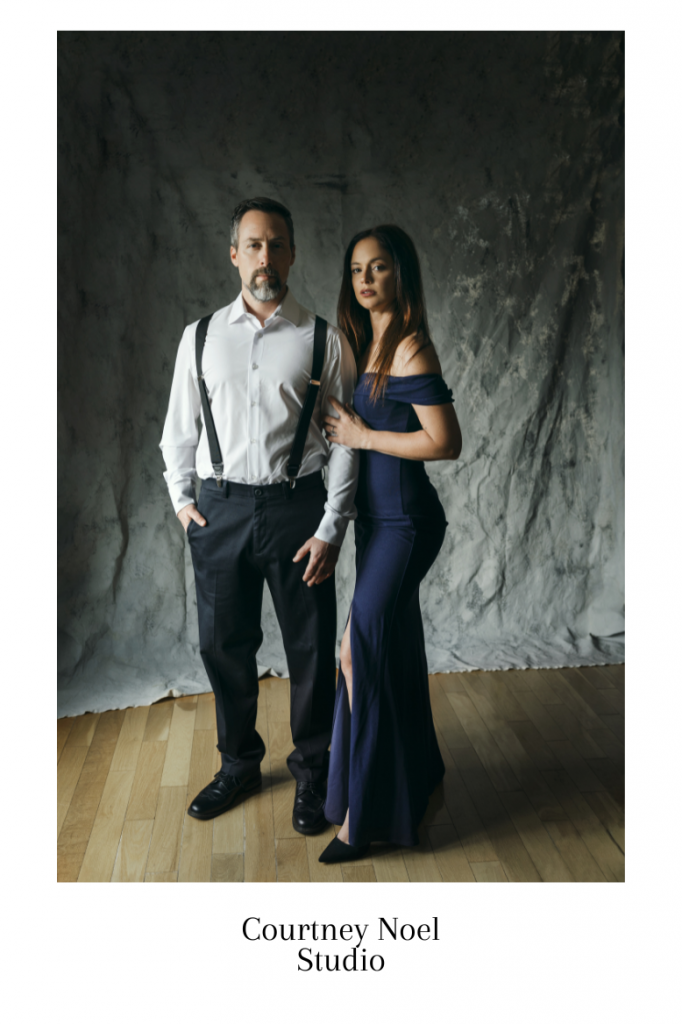
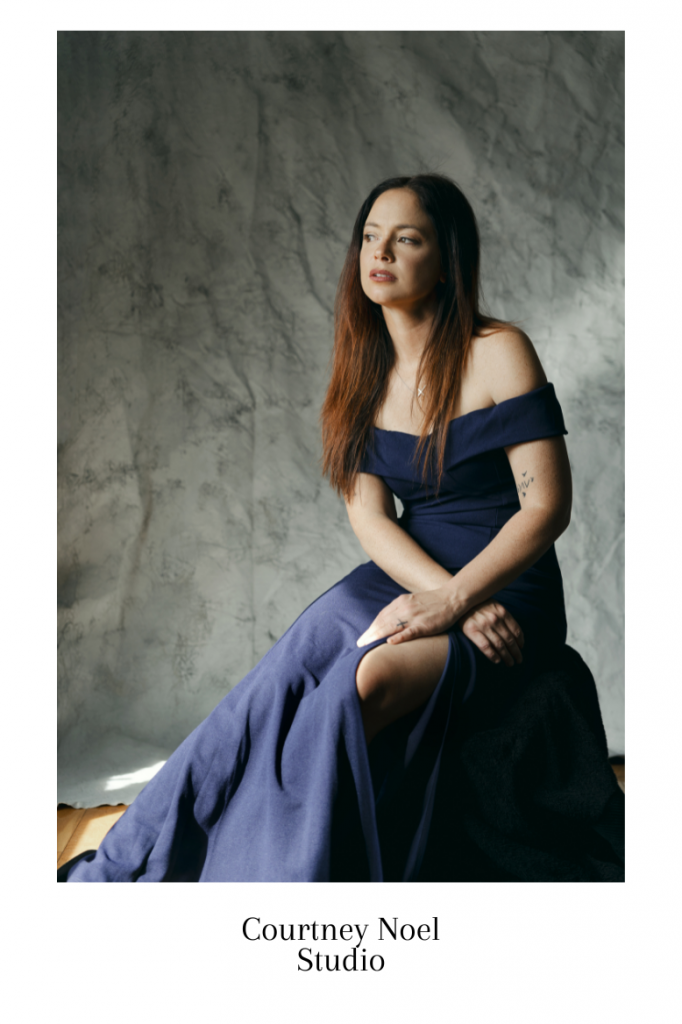
She was open to any concept, so I made the executive choice to go dramatic. I had in my mind photos that could blown up huge and hung over her mantle. In my vision, she also lived in a castle with a very dramatic fireplace, so even though she doesn’t, I still wanted it to look like it would belong in that setting.
To add the drama, it meant adding the contrast between light and dark, so bringing in those shadows, in a really flattering way. I wanted it to look painterly.
But I’m also setting up in her house, so I need the setup to be simple. This was not done in a studio, but I wanted it to look that way.
Want to create it yourself? Here’s the simple guide to DIY it.
Supplies Needed
(May contain affiliate links)
I call myself a mobile studio, as I don’t have a home base. I need everything to be portable so I can set up on location. It still takes up some room in my trunk, but overall, it’s pretty easy to move. For this shoot, I used the following:
- Heavy Duty Adjustable Backdrop Support System
- 9×12 Canvas Drop Cloth – I painted this to create the backdrop
- Foam Boards – Tape this together to create v-flats
- Gaffer Tape for attaching the foam boards together
- Cloth Shower Curtain as light diffuser
- Some chairs. We used chairs that were already in the house, plus a laundry basket with a towel draped over it.
You may have noticed something very important missing from the list – the light source! That’s because all that is needed is window light. You will have to decide if your window is providing enough light or too much light. It may require just guessing, but it’s easier than bringing a heavy light with you!
The Setup
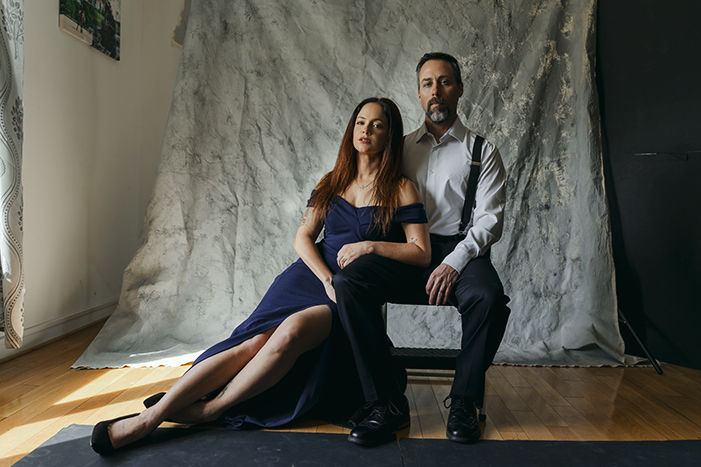
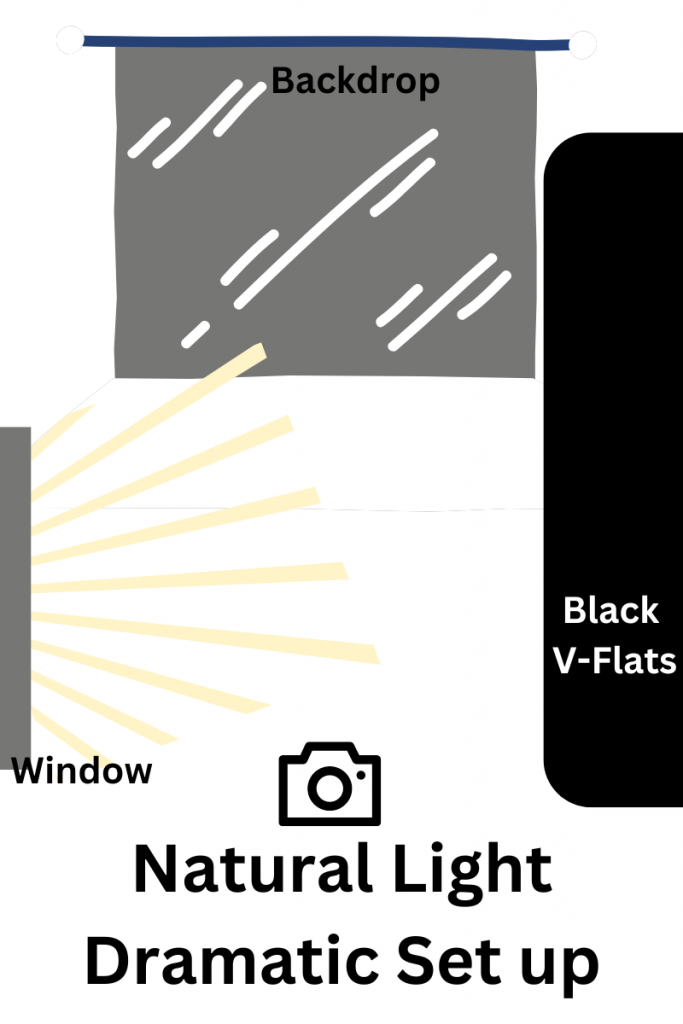
The window, being the source of light, was the most important aspect. I set up with the window camera left. The backdrop was very appropriately set up in the background, and to the right, I set up a wall of black v-flats. The goal was to create as much shadow on camera right as possible.
I also tossed from black foam board on the ground, to try to cut the red cast from the floor.
Pay Attention to:
Defusing the light. Since we’re using window light, use the shower curtain over the window to defuse the light. It creates a softer look. Make sure you’re paying attention while you shoot though, as the light may change depending on conditions outside. If you need more light, take down your shower curtain. If there’s too much light, shower curtain, plus possibly more curtains to cut the light down.
Keeping your subject in flattering light. Since the shadows will be dramatic, it’s easy for your subject to turn their head and lose all light on their face. Pay attention to how the light is falling on their face and eyes. Of course, if you’re going for darkness on their face, you can do it, but otherwise, always rotate their faces into the light.
The Edit
For these images, I was going for a dramatic, moody feel, so I did the following edits:
- Extend the backdrop where needed.
- Basic retouching of the subjects.
- The Big One: dodge and burn everything.
- Curves layer to bring up the black point slightly
- Adjust the color balance to add cyan to the shadows and yellow to the highlights.

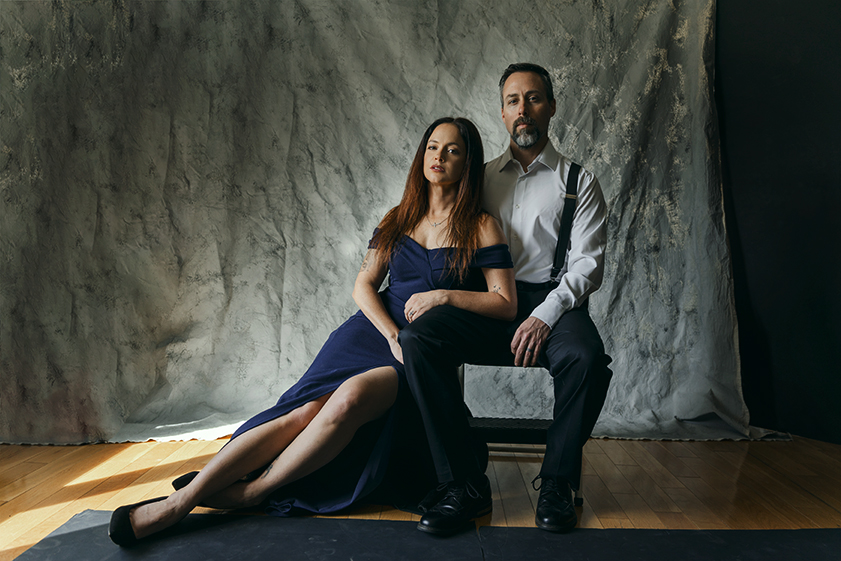
Notice the thing I didn’t change is the lighting. It’s pretty hard to fake lighting, but if you get the lighting right, the edits will make your work pop.
It’s really fun to work with couples, although it’s pretty normal for men to be uncomfortable at first. But get them into the flow of things and they have a pretty good time!
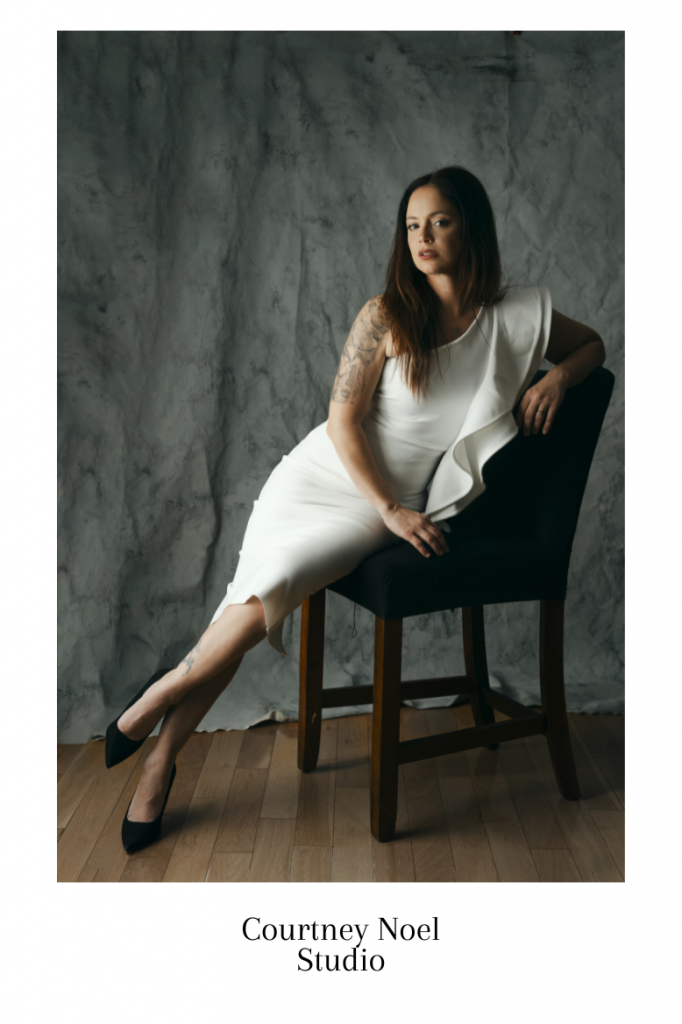
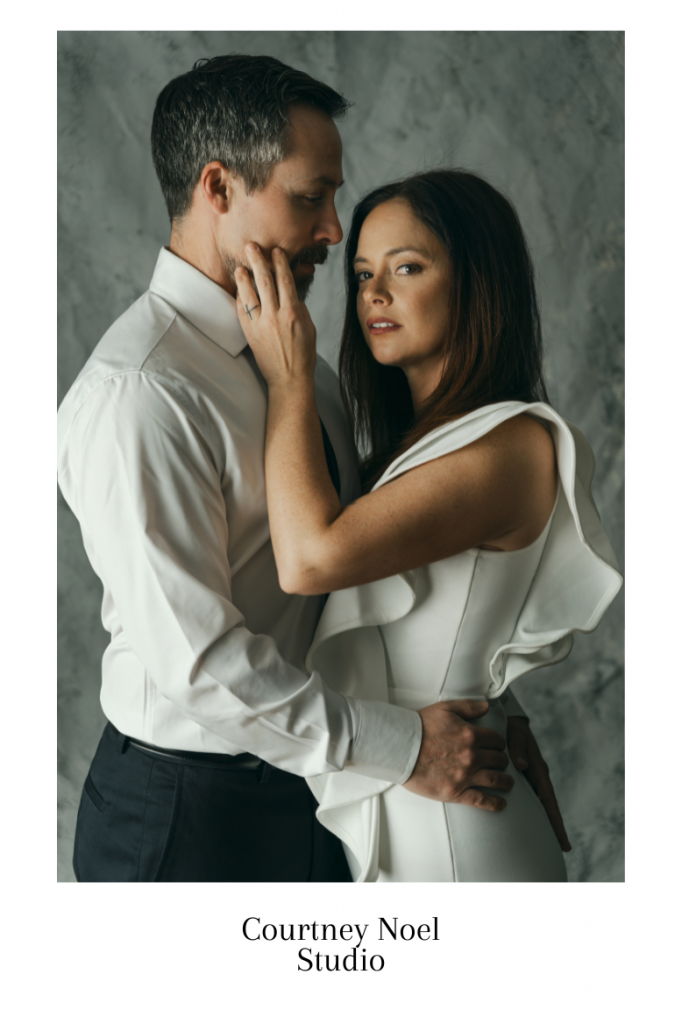
This was a really fun shoot with a super fun couple! Definitely try out this setup, as it’s super easy to create, and the results are very dramatic. Happy photographing!
